Over the last few weeks I have shown you guys how to press flowers using books, make your own flower press and then how to press flowers using your DIY flower press. Now I am going to show you a few different ways you can use all of the knowledge I have previously shared with you. Let's put all that hard work into the practice of our craft shall we?
 |
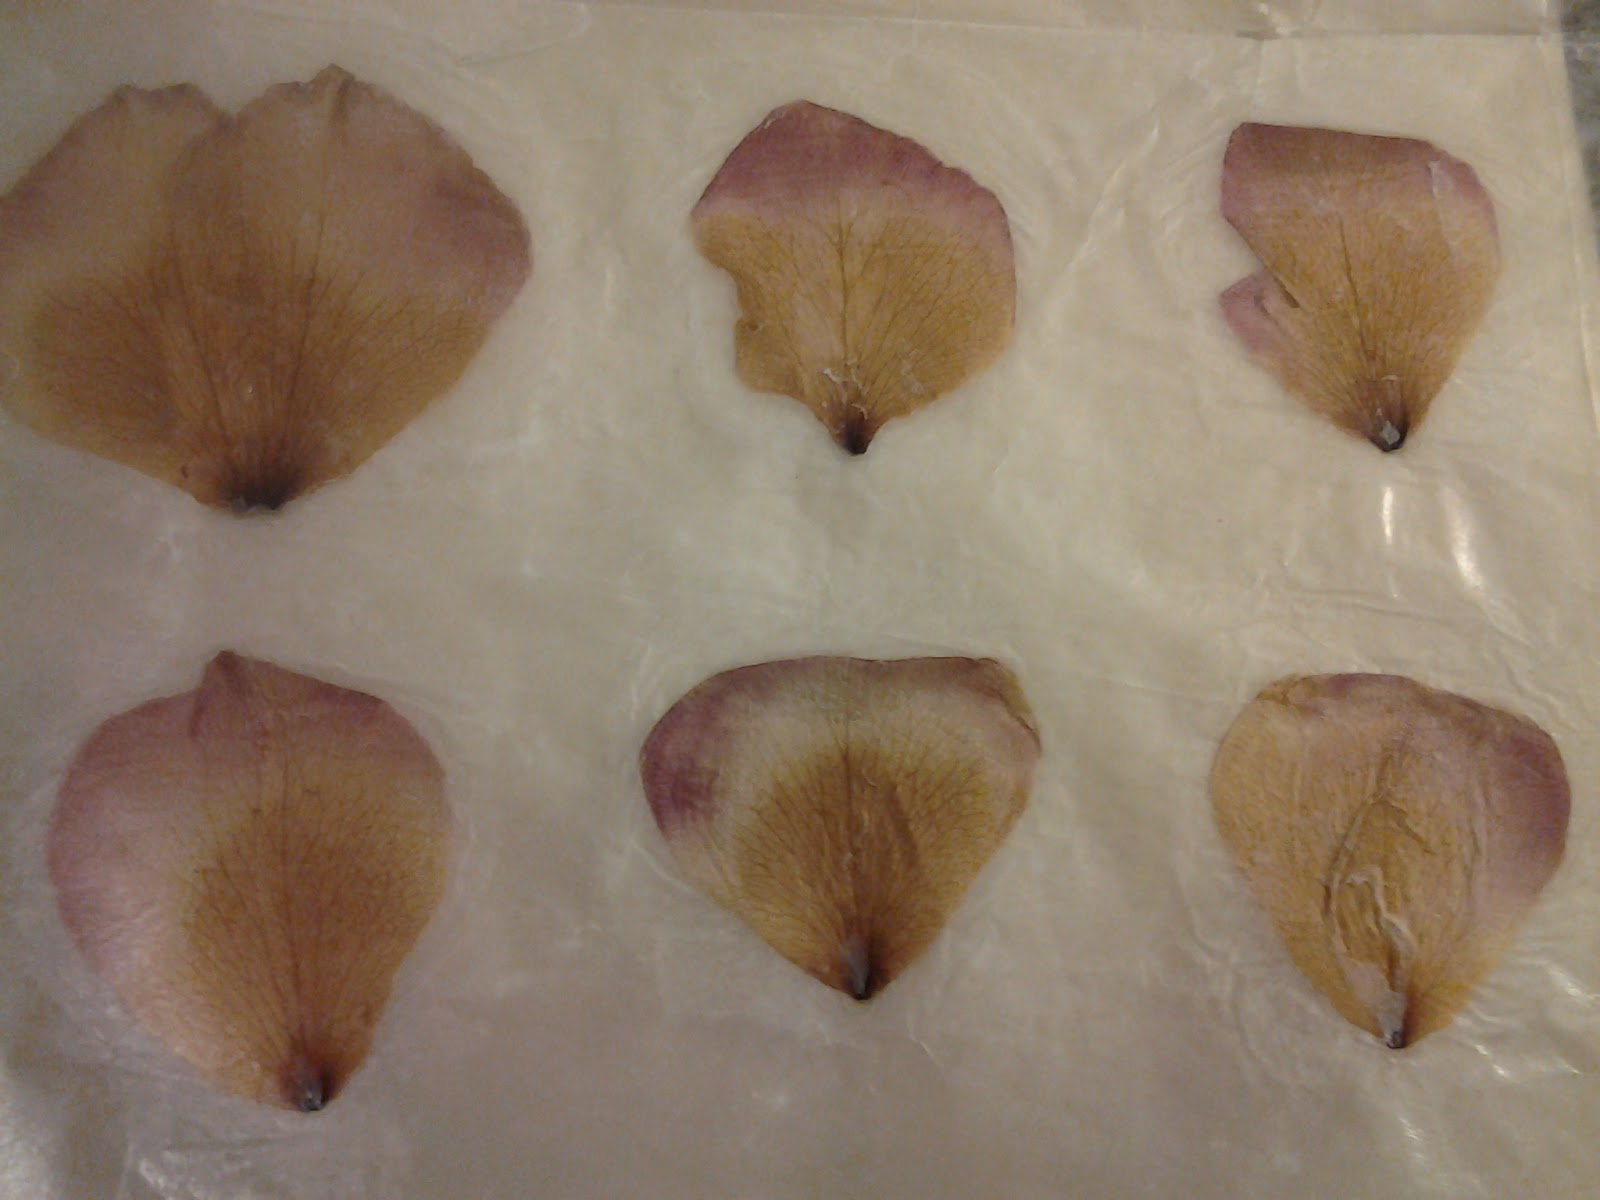
| Rose petals that I have pressed and then glued onto wax paper to add to my spell pages later |
For this part you will need the following supplies:
- Pencil
- Clear Gesso
- Gel Medium (I use a Matte finish but you could use glossy)
- Small Flat Paint Brush
- Spatula or Popsicle stick
- Pressed Flowers
- Page from BOS that you want to put your plant matter on
Pressing Flowers onto Pages:
- First you'll want to decide where the flower is going to go on the
page. If you already have text or graphics in the area move the flower
around and figure out just exactly where it is going to go.
- With a pencil VERY lightly mark the areas so you know where to apply glue.
- Apply a thin layer of gesso to the area you just marked, in the
general shape of the flower or plant. You can also apply a thin layer
to the back side of the flower or plant, whichever part will go down on
the paper. The gesso will create a very rough gritty surface, good for
applying glue and the flower!
- Next put a thin layer of gel medium over the gesso.
- Then before the gel medium dries, place the flower down and with the
end of your paint brush or the Popsicle stick GENTLY press the flower
down.
- Then apply a thin layer of gel medium over the top of the flower. It
will dry clear so do not be afraid. Make sure that if there are buds or
stems or leaves branching off that they are covered as well. They
typically need thicker coverage than the petals of a flower. I usually
go over my flower 3 times but use as little or as much as you need.
- Let it dry and you are finished.
- Drying time varies on the number of coats used.
- Your flower and page should still be flexible enough that when you turn pages it does not bother you.
If you’re like me and your book doesn’t have a regular binding (I use a post-bound scrapbook) and you want to keep them readily available for spells but not glue them to your spell page then add a pocket or envelope to the page to hold the flowers, leaves or herbs. You can also glue three sides of them together (top, bottom and inside spine) of another sheet of paper to the back of your page. This will create a space or an accordion style envelope between the pages to store herbs and flowers. You’ll just need to seal the page or create a flap on the open side to hold the items in!
Here are some picture examples of what I am talking about:
 |
| Accordion style pages |
 |
In case you want to make an envelope to put flowers, herbs, ect to glue onto spell page,
here's a nifty picture tutorial from www.thecraftyblogstalker.com! |
I have a video for how to press a flower and put it onto one of your spell pages but I may do a video on how to make a few different styles of pockets to store herbs and other spell ingredients. Leave a comment if you'd like to see that. The more requests I have the more likely I am to do it, you know you readers are my only motivation right?
Also, if you have any questions or comments or would like to show me yours I would love to see them!


Comments